Saturday, March 26, 2011

The first panel is set up next to the plaster model after the initial roughing out of the stone.

Thursday, March 24, 2011

The third panel represents Joseph of Arimathea with a torch in his right hand. After the initial roughing out on a table, the sculpture is placed upright and the "smodellatura" begins.
The dust is flying as Roberto works on the rough-out phase on the left panel of the relief sculpture.
The plaster model will be used to make the marble sculpture. In this image the wooden cross is set up on four large nails that are set into the chief points on the model. This cross will hold the pointing instrument that is used to copy "points" from the model to the marble sculpture.

Wednesday, March 23, 2011

I rented a truck and took the 4 hour drive down to Pietrasanta to load up our marble slabs. Our stone supplier found our block in Carrara at the famous "Michelangelo" quarry.
All three plaster panels are laid out on the floor. At this point we need to level the pieces so that the edges match and add supports in the back.
The plaster cast of the left panel of the relief has been cleaned of the waste mold and ready for repairs and touch-up.
At this stage the waste mold is being removed from the cast. The outer layers of the mold come off quickly but this tinted "face coat" has to be chipped away more carefully.
In this image Roberto Bertotto and Paola Stefani are helping with the casting of the plaster model. The cast is made to an approximate thickness of 3 centimeters.
This is a picture of the mold for the central panel. All of the clay has been removed and this is now ready to be washed, soaked, and to have the mold release applied before the casting process.
Here we see the clay model after the mold has been removed. Some parts of the clay are damaged but the majority has remained intact.
And now it is time to remove the mold.

Tuesday, March 22, 2011

After the plaster for the mold has been applied we attached wooden boards to serve as added support.
In this picture Roberto Bertotto is applying the thickened plaster layer to the waste mold. This layer is applied in an even coat of about 2 centimeters. It is best if the mold is not too heavy and thick, but it also needs to be strong enough to be handled and filled with the plaster casting.

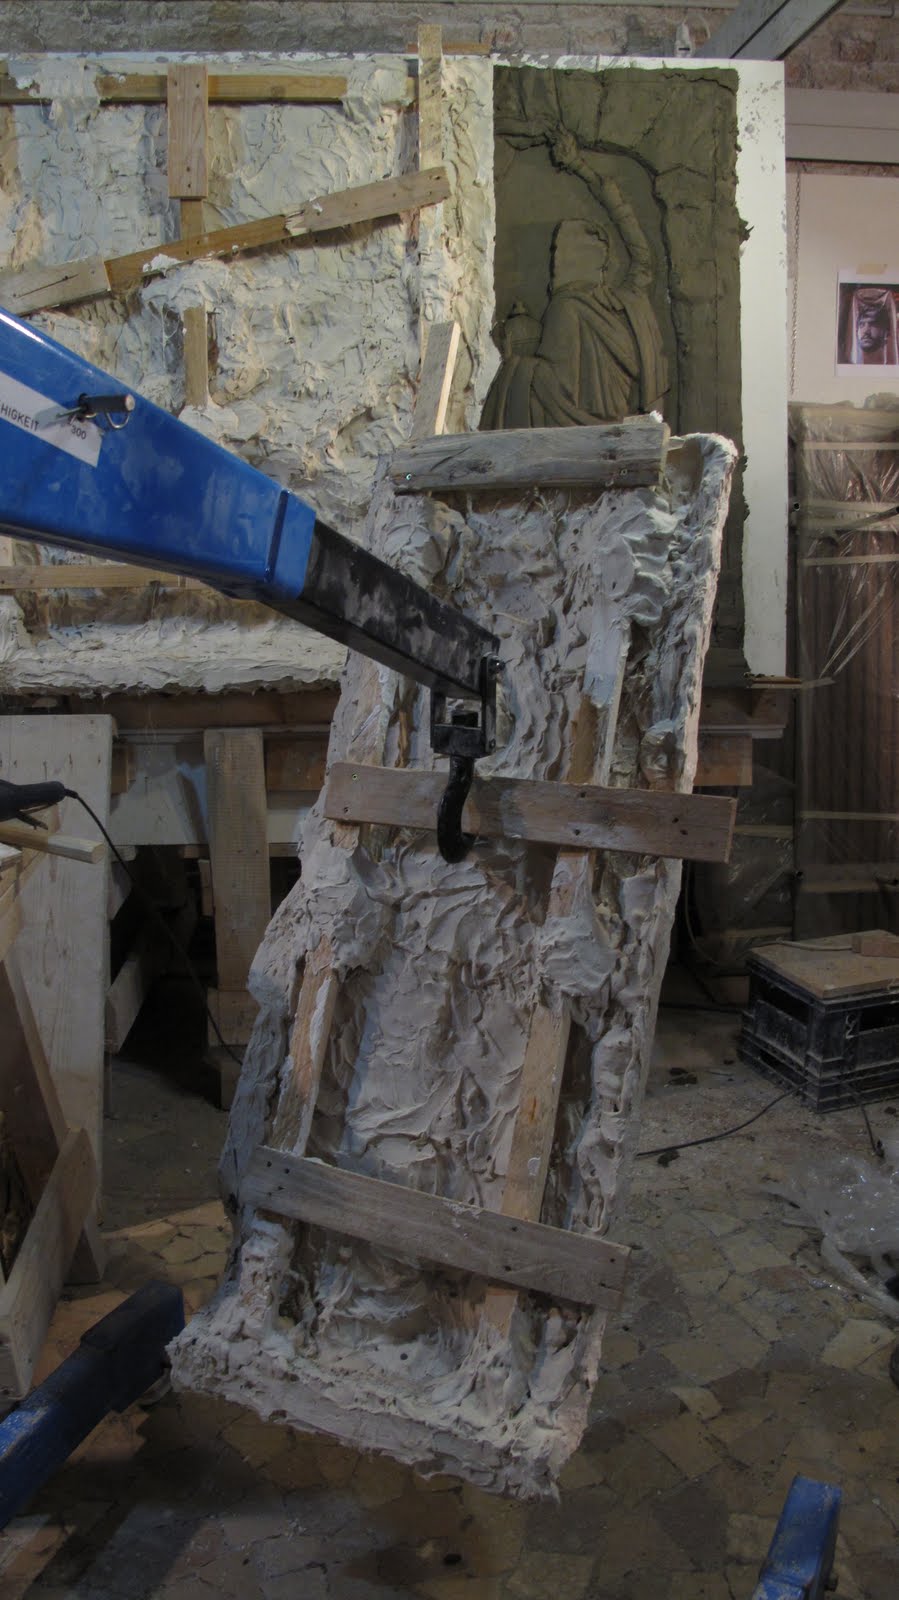
making the waste mold

The first layer of a waste mold is tinted with a pigment. This is to distinguish the mold from the cast and to aid in the removal of the mold. In this picture I am adding the second, thickened layer of plaster to the mold.
In this image we see that the barriers have been prepared to create the separations between the three panels. These divisions will correspond to the seams where the three marble sections will connect. On the left and right sections the first layer of plaster is being applied.
The clay model is now complete and ready for the next stage.
Here I am with the clay during the first week of modelling. The position and volumes of the figures have been established and now we can begin the finishing stage.
Here we are on the first day putting the three panels up onto the easle. They are each too heavy to lift by hand so we had to devise a system to lift them with our hoist.

Monday, March 21, 2011

Relief for a chapel in Backnang, Germany

In October of last year I received notice that an organization in Backnang, Germany was interested in creating a relief sculpture in marble. An original sculpture had been lost many years ago and someone found a picture of this in the archives of the chapel that held the sculpture. I was asked to use the original image and create a sculpture. This sculpture was created by an artist name Schnabel around 1884.

This blog is a record of the different processes involved in the creation of this artwork.

Here you see the black and white image enlarged to the desired size.

Relief for Backnang